
Survey
Measure and label before removing anything.
Number each existing front and retain its position, orientation and hardware references so similar-looking pieces do not become interchangeable by accident.
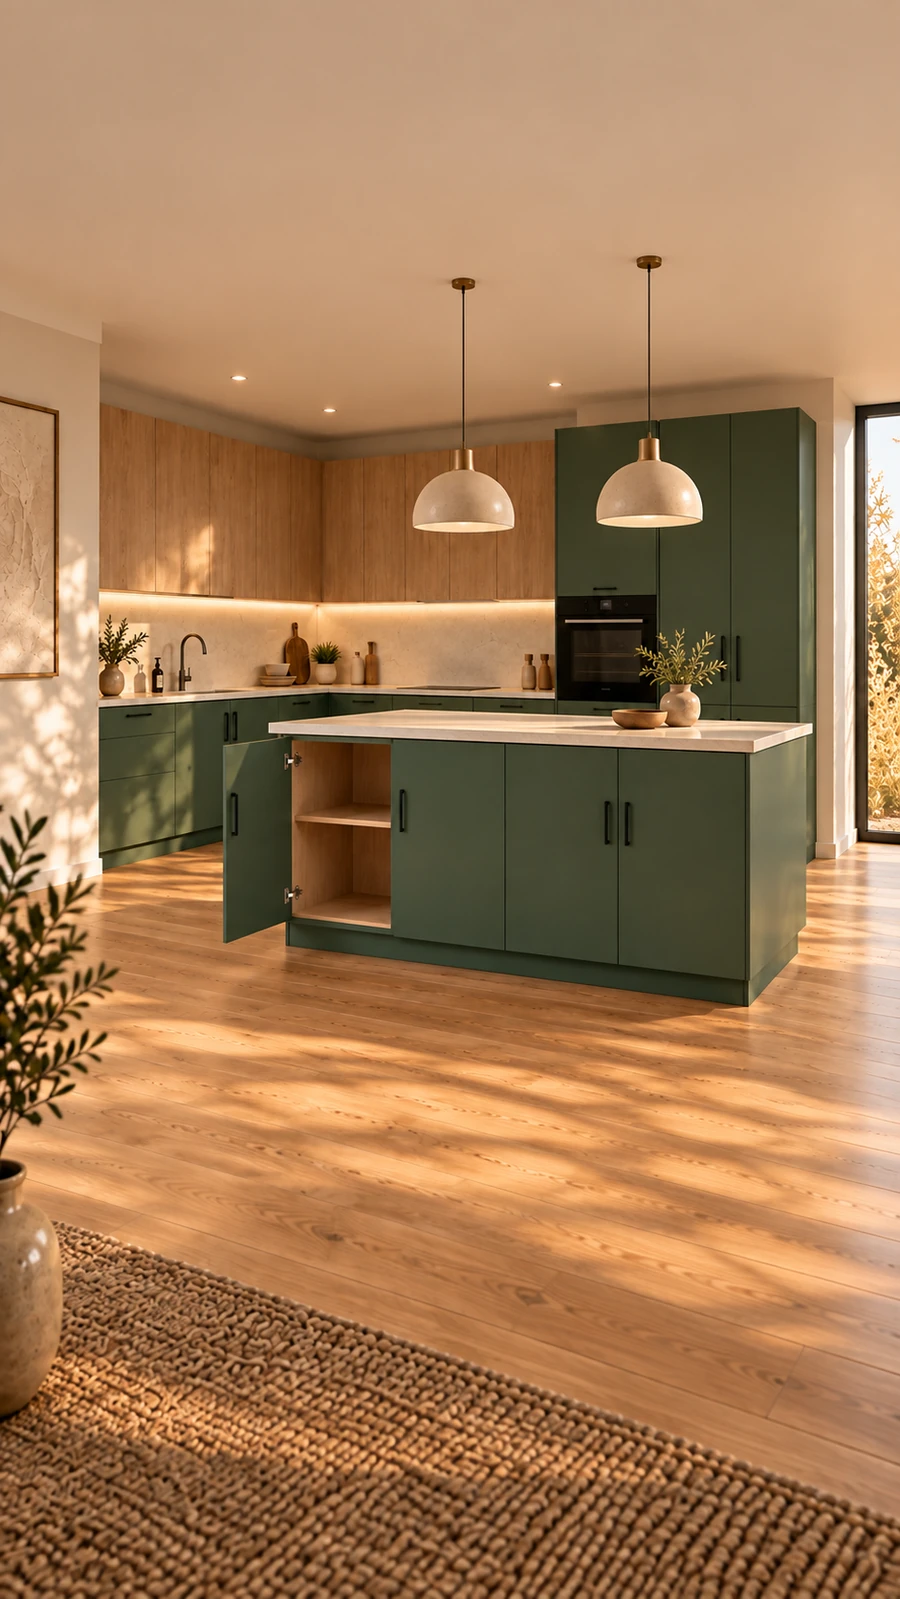
Replacement kitchen doors
Prepare slab doors and drawer fronts as one measured set, with references that remain clear through material selection and review.
Keep the set connected
Replacement work depends on the existing installation. The component workflow helps organise the measured fronts, but does not assume a cabinet brand, standard range or universal overlay.
Survey
Number each existing front and retain its position, orientation and hardware references so similar-looking pieces do not become interchangeable by accident.
Front schedule
Different size, grain orientation, drilling or handing means a different line even when the visible colour is the same.
Fit responsibility
The platform preserves the dimensions entered. It cannot detect an inaccurate site measurement, existing cabinet movement or unsuitable hinge position.
A coordinated schedule
Photograph and number the existing fronts before removing them. Use a quantity only when the complete specification is identical; a different size, grain direction or machining reference needs its own line. Doors and drawer fronts can stay in one cutting list.
Room-by-room method
A consistent reference system reduces mistakes during review and fitting.
Use a simple sequence such as K01, K02 and D01 before measuring.
Record height and width consistently and check repeated pieces rather than assuming equality.
Keep hinge, handle, grain and damage notes with the matching reference.
Replacement survey
The existing kitchen remains the source of site-specific fit information.
Prepare replacement frontsFront reference and cabinet position
○Finished dimensions checked more than once
○Door handing and hinge side
○Hinge centres and retained-handle references for review
○Adjacent grain sequence
○Panels, plinths and fillers affected by the change
○Before you begin
The practical details, so you can take the next step with confidence.
No. Current templates use the finished dimensions you enter and do not claim compatibility with a cabinet brand or product range.
Yes. Add each type as a separate component line and retain a clear room reference.
No. Existing finishes age and screens vary. Use current physical samples and verified product identity before approving a material.
Build the front schedule
Add the template directly to the cutting list, then duplicate or adjust each finished component.