
Applications
Use one front contract across several cabinet types.
A slab door can describe a kitchen cabinet, wardrobe, utility cabinet, media unit or freestanding furniture front without assuming the cabinet behind it.
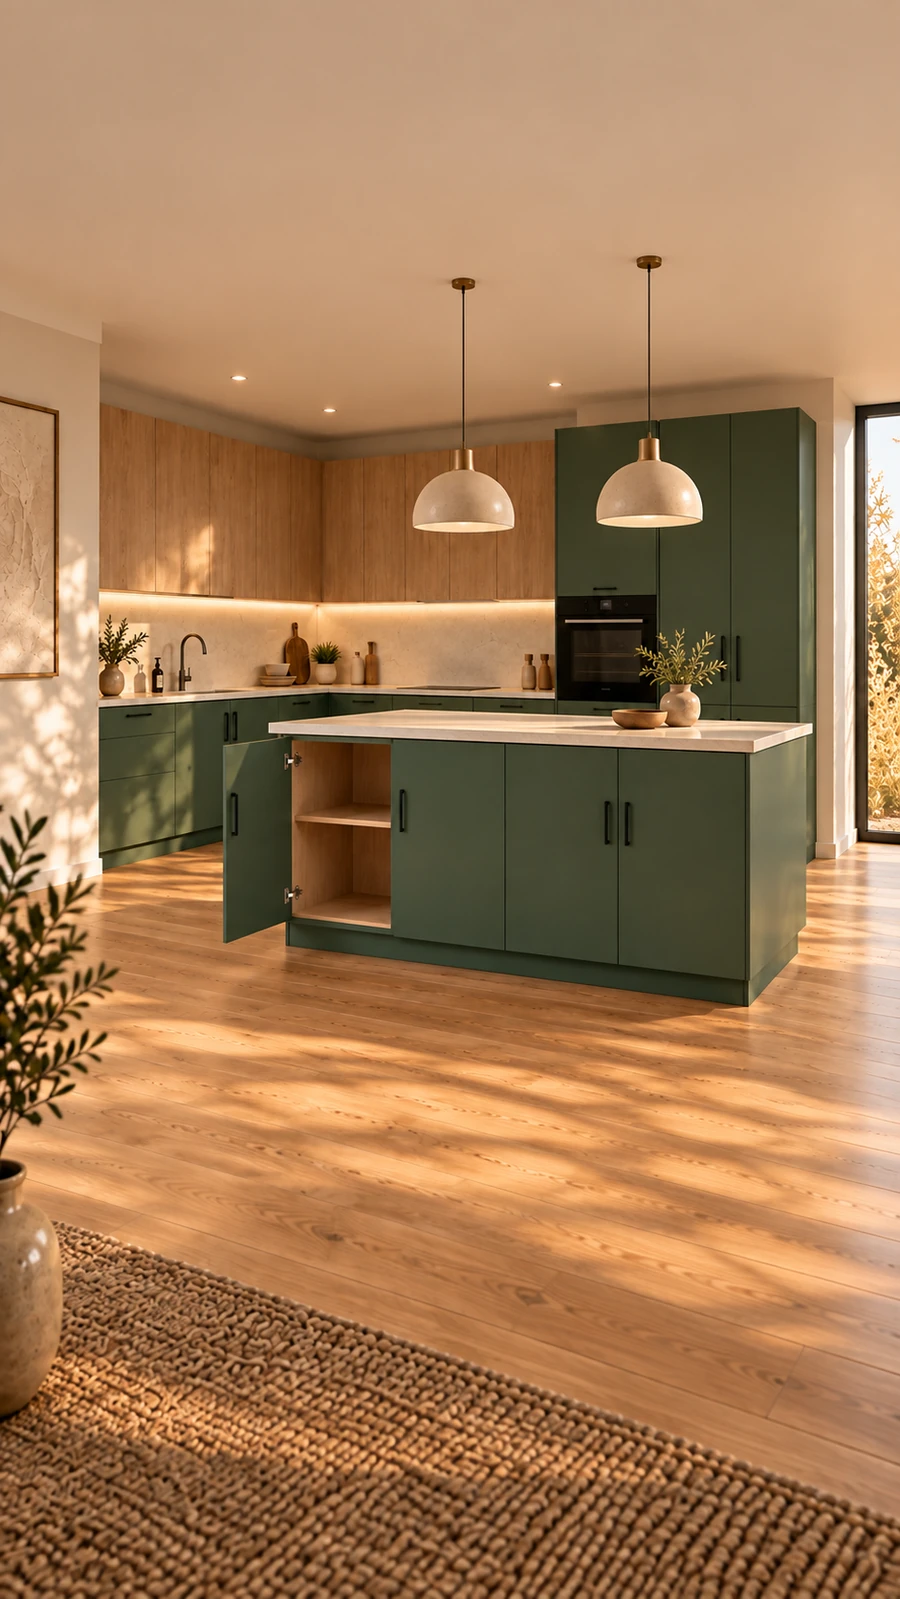
Made-to-measure cabinet doors
Record individual cabinet or wardrobe doors with exact finished dimensions, quantity, orientation and visible edge intent.
Start with the front
The current door template prepares a rectangular slab front. Style names, images or existing cabinet brands do not determine its size: the customer enters and approves the finished dimensions.
Applications
A slab door can describe a kitchen cabinet, wardrobe, utility cabinet, media unit or freestanding furniture front without assuming the cabinet behind it.
Measurement
The template does not calculate overlay, reveal or clearance from an opening. Enter the door size after those fitting decisions have been established.
Hardware
A door can proceed without hinge drilling. Compatible concealed-hinge work requires exact positions and approved hardware evidence. Handle drilling is not a commissioned public operation; handle-centre references can support a technical question without promising machining.
Measure the front
The slab-door template preserves the size you enter. It does not infer an overlay, reveal or fitting gap. Keep identical fronts together, and give different sizes, orientation or requested machining their own reference.
Door schedule
A clear reference schedule makes review and installation easier.
Use quantity when material, dimensions, grain and edge requirements are identical.
Create distinct lines whenever machining, handing or reference positions differ.
Record grain intent and keep adjacent door references in their intended sequence.
Measure before entry
Existing doors are normally the clearest reference when replacing like for like.
Configure a slab doorFinished height and width of each door
○Quantity of each identical size
○Top, bottom, left and right orientation
○Existing hinge centres where supported drilling is required
○Handle-centre references for technical review only
○Grain direction across adjacent fronts
○Before you begin
The practical details, so you can take the next step with confidence.
No. Enter the checked finished door size. Overlay, inset gaps and cabinet alignment remain fitting decisions.
Not from a generic door choice. Exact approved hardware and customer-confirmed positions are required before drilling can become a production instruction.
You can record that intent. The exact compatible edging is selected and confirmed later in Board Cutting.
Prepare a slab door
Board and edge selection remains explicit in the same Board Cutting workspace.