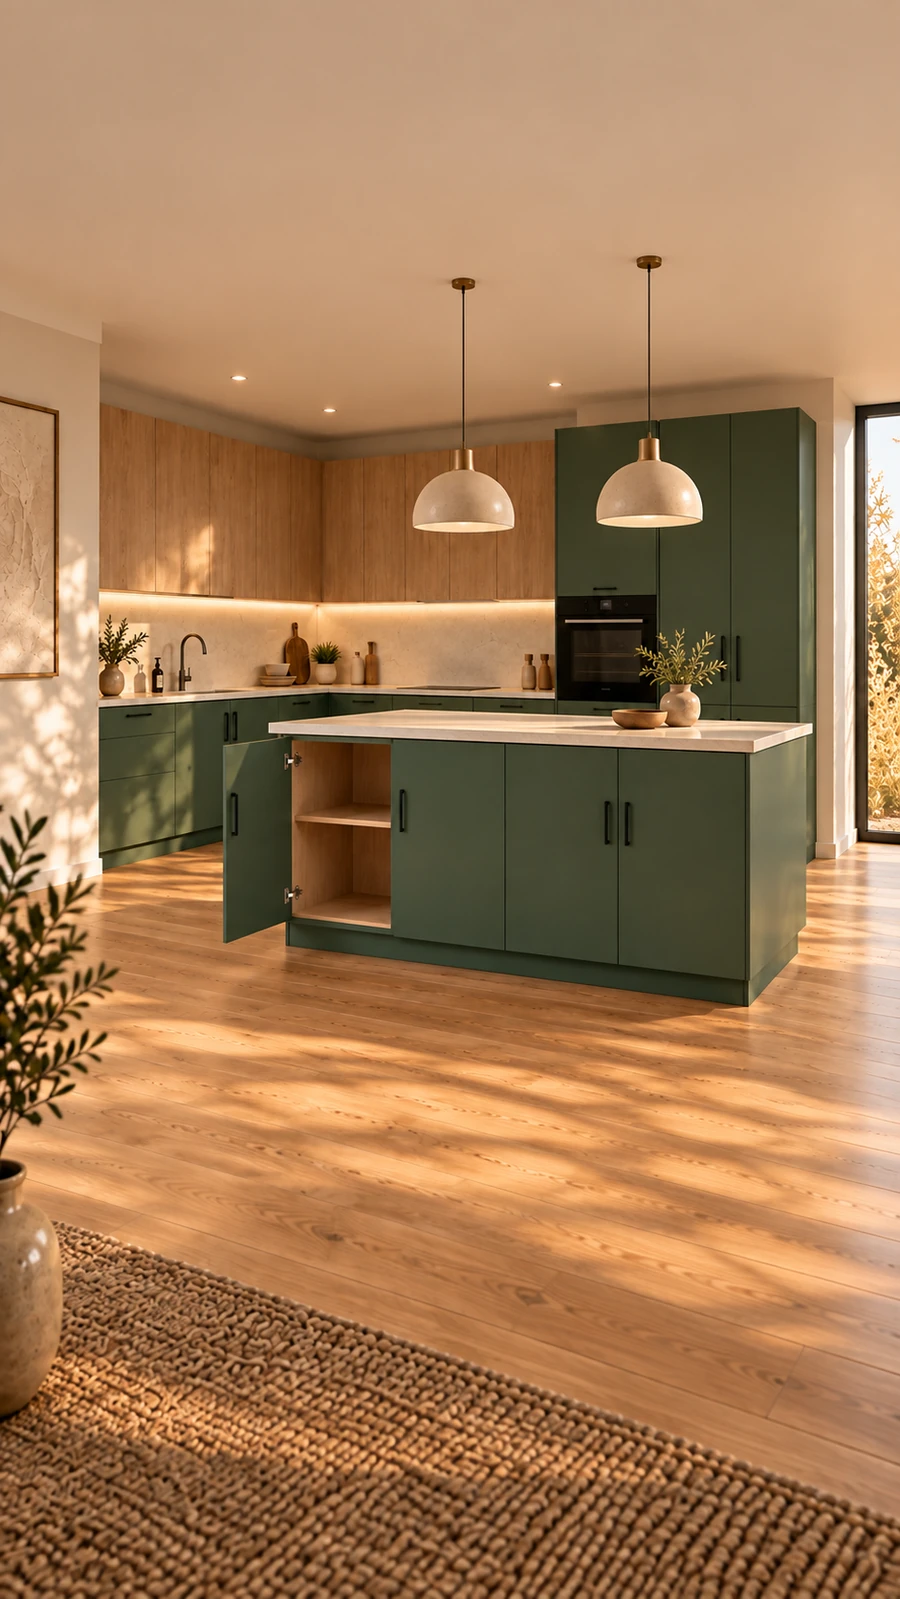
Made-to-measure components, prepared as one connected production brief.
Parts & Fronts bridges a blank cutting list and a complete furniture design. Begin with the component you need inside Board Cutting, preserve its finished dimensions and edge intent, then complete the exact material and production choices without switching systems.
01
Available templates
Start with the part, not an empty row.
The current compiled templates cover rectangular slab doors, drawer fronts, shelves, fillers or end panels, tops and wall-panel sections.
Customer part reference
Finished height and width
Quantity and grain intent
Visible edge intent by named side
02
Exact production choices
Select stock only where the live catalogue can verify it.
The template does not invent a board, thickness or edging product. Those choices remain explicit in Board Cutting and are checked against the selected sheet.
03
Review-only design
Separate the visible brief from approved machining.
A routed-Shaker visual brief can be prepared where the current review capability permits it. Its profile routing remains held. Fretwork and five-piece doors still need their own tooling, material, finishing and sample evidence before becoming public production recipes.
Choose the component
One part. A repeated set. A clear place to begin.
A door, shelf or top starts with its own purpose. Use a rectangular template to keep finished dimensions and visible-edge intent together, then choose the exact board and compatible production work in the cutting list.
01Finished dimensions
02Named visible sides
03Exact board selected next
Component diagram · a specification example, not selected stock
Preferred material and thickness for later selection
○
06
Any drilling, cutout or specialist drawing requirement
○
Before you begin
A few useful answers.
The practical details, so you can take the next step with confidence.
Does a component template select the board?+
No. The template creates the finished component row first. You then choose the exact published manufacturer, product and thickness in the same Board Cutting workspace.
Can I prepare several different components together?+
Yes. Add different templates to one cutting list, then duplicate or edit each component row independently.
Does adding a template approve manufacture?+
No. It prepares a reviewable component line. Stock selection, production services, optimisation, confirmed price, payment and approved output remain separate controls.