
Bay planning
Treat each bay as its own storage decision.
Choose open or closed fronts, shelving or hanging, shelf count and position, rail quantity and door handing for every bay.
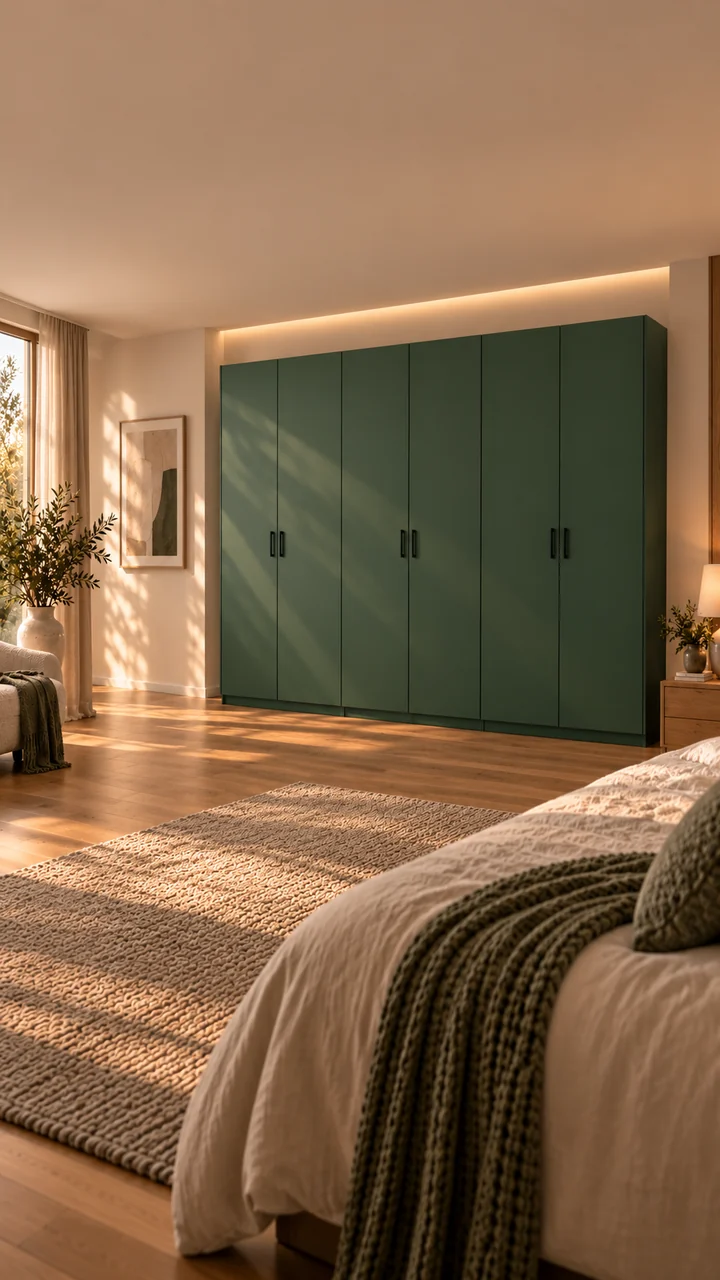
Wardrobe design
Configure supported straight wardrobes from one to eight bays. Sloped and corner designs remain held for a dedicated shaped-furniture workflow.
Storage, your way
Give each straight bay a purpose: shelves or hanging, with open or hinged fronts. Sloped and corner designs remain held for a dedicated furniture workflow.
Bay planning
Choose open or closed fronts, shelving or hanging, shelf count and position, rail quantity and door handing for every bay.
Room fit
Shaped and corner starters are held. Keep site dimensions and constraints for specialist review.
Fittings and detail
Choose compatible hinges, mounting plates, handles and any supported lighting. Exact fittings and drilling are reviewed before production; the preview alone does not approve them.
Plan from the inside out
Plan shelves or hanging for each straight bay, then choose open or hinged fronts. Sloped and corner starters remain held for a specialist furniture workflow.
Plan from the inside out
A wardrobe becomes easier to review when each bay has a clear job and its access is considered alongside the room.
Decide which bays need shelves, hanging space or a combination, then set counts and positions.
Review door handing, open bays and the clear space required in front of every active section.
Seek specialist guidance when a slope, return, opening or restricted ceiling controls overall form.
Read furniture-planning guidanceRoom survey
Do not assume a wall, floor or ceiling is represented by one measurement when the project depends on a close fit.
Configure a straight wardrobeAvailable width at relevant heights
○Floor-to-ceiling height at relevant positions
○Ceiling slope direction and transition
○Skirting, coving, sockets and switches
○Door swing, access and installation space
○Before you begin
The practical details, so you can take the next step with confidence.
Yes. Supported straight wardrobes allow shelving or hanging decisions to be made by bay.
No. A sloped footprint is not a finished shaped unit. New shaped starters remain held for their exact furniture workflow.
No. Compatible hardware data and technical output must be reviewed before CNC release.
Design storage
Customise bays, fronts and materials, then save the design for its next stage.